Hello! When managing Linux servers, there are tasks that need to be repeated daily or weekly. For example, database backups, deleting old log files, or generating system status reports. Isn’t there a way to free ourselves from these tedious and repetitive tasks? 🤔
Of course there is! It’s by organizing your tasks with a Shell Script and then using Cron to automatically execute them at your desired time. Today, I’ll show you how to combine these two powerful tools to turn you into an ‘automation master’!
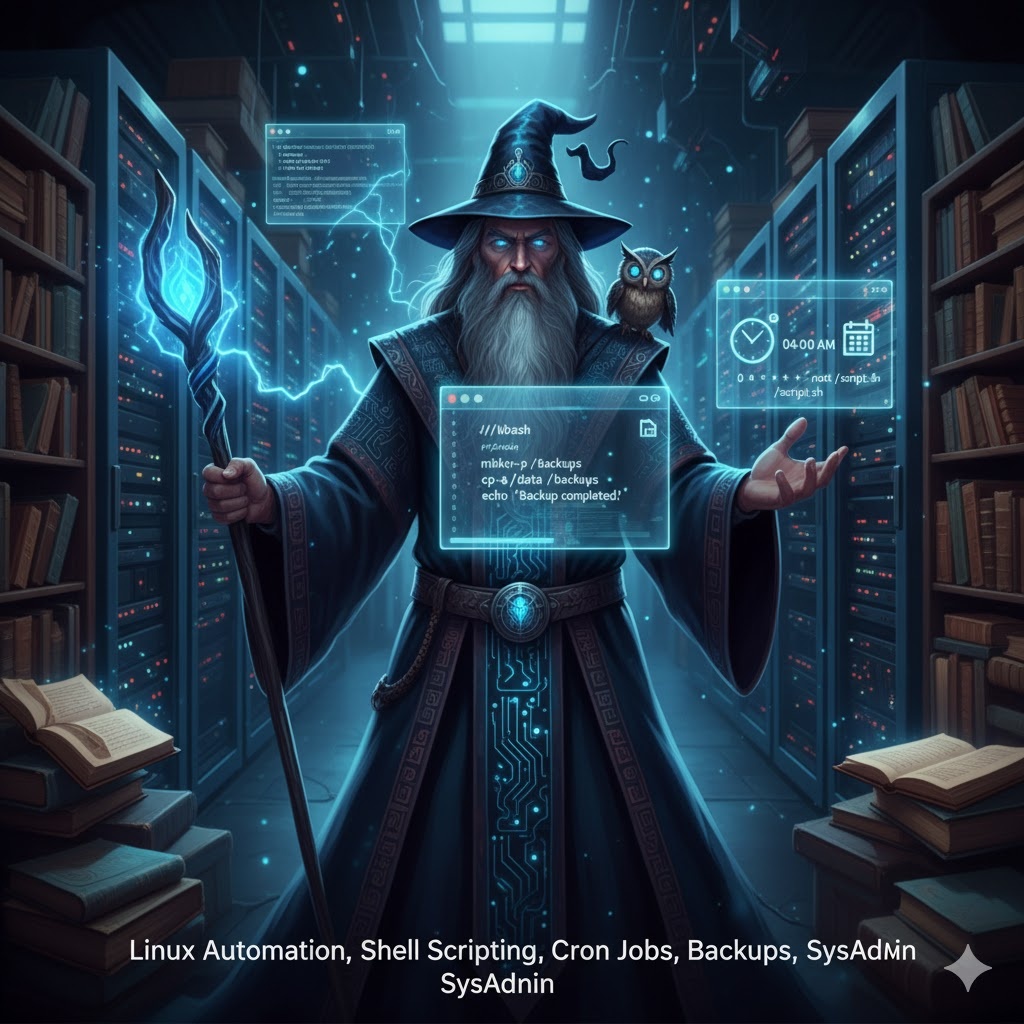
Step 1: Create a Specification for Your Desired Tasks (feat. Shell Script) 📜
A shell script is like a ‘task specification’ or ‘recipe’ that collects the commands we type into the terminal into a single file. Even complex tasks can be handled all at once by simply running this specification.
1. The ‘Magic Spell’ to Announce the Start of a Script
The first line of every shell script file must start by telling which interpreter will execute the script. Bash shell is usually the most commonly used.
#!/bin/bashThis is called a “Shebang”. It’s like an ID card that tells you the script’s identity. 🆔
2. Write the Commands to Be Executed in Order
Now, you just need to write the commands you want to execute in this file, in order. For example, let’s create a script that backs up a specific directory to another location.
#!/bin/bash

# --- Simple Backup Script Example ---

# Create the backup directory if it doesn't exist. (-p option prevents errors)
mkdir -p /home/user/backups/

# Copy everything from /home/user/data directory to the backup directory.
# The -a option preserves permissions, ownership, and timestamps, making it ideal for backups!
cp -a /home/user/data/ /home/user/backups/

# Print a message indicating that the task is complete.
echo "데이터 백업이 성공적으로 완료되었습니다!"
3. Grant ‘Execution Capability’ to the Script 🔑
Just because you’ve created a script file doesn’t mean you can run it immediately. Linux, for security reasons, does not grant execute permissions to files by default. Let’s breathe life into the script with the chmod command.
chmod +x /경로/내_스크립트.sh- chmod +x: This means adding ( + ) execute (execute) permission to the file. Now, this file is no longer just a simple text file, but an executable program!
Step 2: Schedule ‘When’ to Run (feat. Cron) ⏰
Now you have a well-crafted task specification (script). Next, it’s time to hire a faithful assistant, Cron, to handle these tasks for you. Cron is Linux’s default job scheduler, which reliably performs specified commands at specified times.
Two Types of Cron: Personal Assistant vs. System Assistant
There are two main ways to register Cron jobs:
- Personal Cron (crontab -e): Registers tasks for the currently logged-in user. Commands are executed with that user’s permissions.
- System Cron (/etc/crontab): Registers system-wide tasks and can only be modified by the administrator (root). Its most significant feature is that you can directly specify which user’s permissions the command will be executed with. It is mainly used for important tasks that affect the entire server.
Deciphering Cron Time Settings
To register a task with Cron, you need to know the time format. The format is simple:
# ┌───────────── Minute (0 - 59)
# │ ┌───────────── Hour (0 - 23)
# │ │ ┌───────────── Day of Month (1 - 31)
# │ │ │ ┌───────────── Month (1 - 12)
# │ │ │ │ ┌───────────── Day of Week (0 - 6) (Sunday=0 or 7)
# │ │ │ │ │
# * * * * * [user] [command to execute]  <- /etc/crontab format (user specified)
# * * * * * [command to execute] <- crontab -e format- * (asterisk) means ‘every’. (e.g., every minute, every hour)
Examples:
- 30 1 * * * : At 1:30 AM every day
- 0 4 * * 1 : At 4:00 AM every Monday
- 0 0 1 * * : At 0:00 AM on the 1st of every month
Registering a Schedule in System Cron (/etc/crontab)
Now, let’s register the backup script we created above to run every day at 4 AM with root privileges in the /etc/crontab file.
You can modify the file directly, but using the echo command as shown below is convenient and safe.
# Add the line "0 4 * * * root /path/my_script.sh" to the end of the /etc/crontab file
echo "0 4 * * * root /경로/내_스크립트.sh" >> /etc/crontab
⚠️ Caution! You must use >>, not >. While > overwrites the file, >> appends content to the end of the file, which prevents important existing system schedules from being erased.
Conclusion
Now all preparations are complete! You have written an excellent task specification (shell script) and told your faithful assistant (Cron) when to handle the work. By effectively utilizing these two techniques, the efficiency of Linux server management will dramatically improve.
Leave repetitive tasks to scripts and Cron, and focus on more creative and important work! 🚀
Tags:
Linux, Automation, Shell Script, Bash, Cron, Crontab, chmod, Scheduling, Backup, System Management
Leave a Reply