Hello! Today, we’ll delve deeply into the first crossroads faced by those looking to adopt Backstage: “How to start a project?” 🚀
Backstage is not merely software to download and install; it’s a framework that you build to suit your organization. The choice between using npx @backstage/create-app and Forking the main repository determines the fate of your future operations. 💡
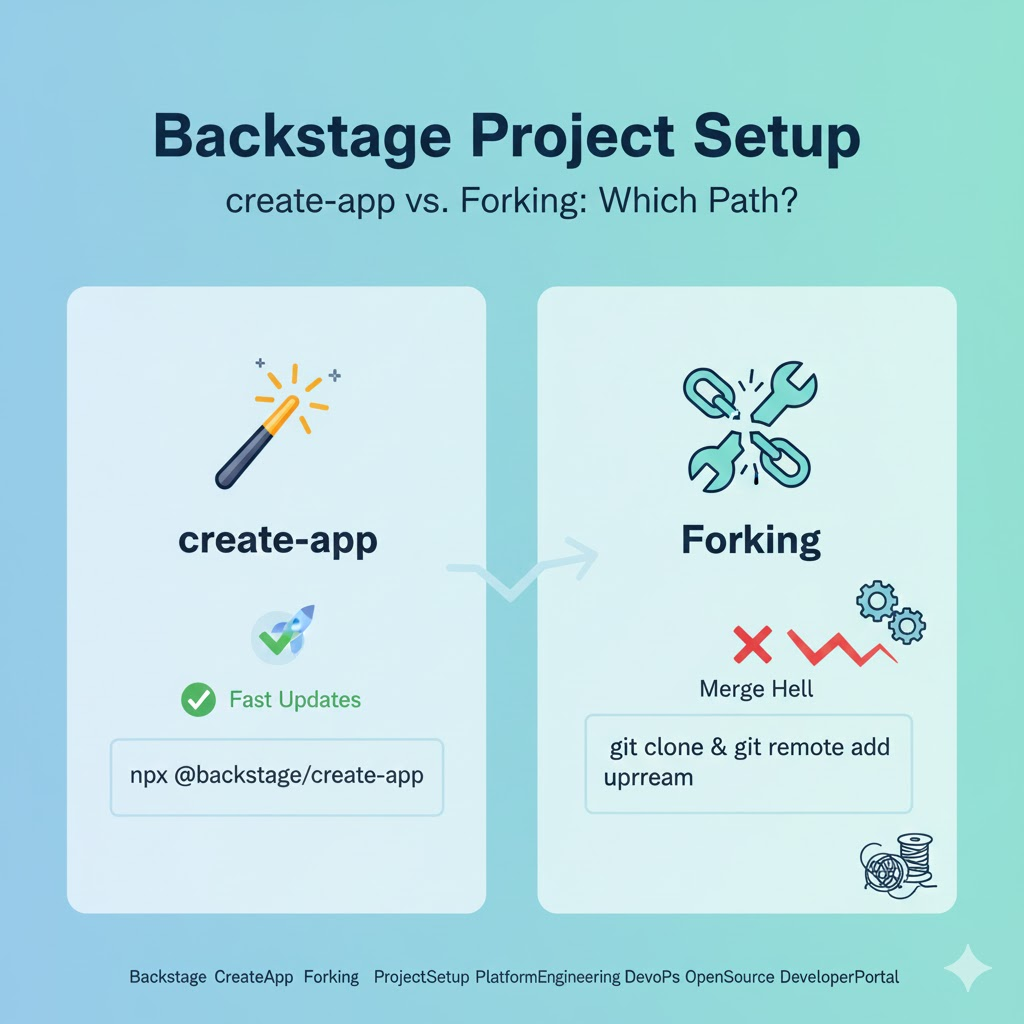
🏗️ Getting Started with Backstage: The Two Paths
1. @backstage/create-app (Recommended Approach) ✨
This method is similar to React’s create-react-app. Running the command generates a new, independent instance based on the Backstage framework.
2. Forking the Backstage Repository (Developer Approach) 🍴
This method involves duplicating (Forking) the official GitHub Backstage repository to your own account and making direct modifications within it.
🌟 What’s the Difference? Detailed Comparison Analysis
1. Project Purpose and Structure 📂
- create-app: You become a ‘user’. The generated code includes only minimal configuration files and customizable parts, while the core logic is managed as library packages starting with @backstage/.
- Fork: You are placed in an environment similar to a Backstage ‘Contributor’. You get the entire source code containing thousands of files, with a strong intention to modify the framework itself.
2. Updates and Maintenance (The Biggest Difference!) 🔄
- create-app: Updating to the latest version is possible with a single `backstage-cli versions:bump` command. It’s very clean as you only need to bump dependency package versions.
- Fork: Every time thousands of commits are pushed to the official repository, you’ll have to resolve Merge Conflicts with your forked code. Updates can become hell. 🌋
3. Build Speed and Lightness ⚡
- create-app: Builds are fast and the project folder is relatively light because it only pulls in necessary packages.
- Fork: You have to build the entire monorepo, so initial setup and build times are much longer.
🤔 When to Choose Which?
| Selection Criteria | @backstage/create-app Recommended | Fork Recommended |
|---|---|---|
| General Enterprise Adoption | ✅ Absolutely Recommended | ❌ Not Recommended |
| Adding Plugins & Configuration | ✅ Very Easy | ⚠️ Complex |
| Contributing to Backstage Core | ❌ Impossible | ✅ Essential |
| Developing Your Own Framework | ❌ Unsuitable | ✅ Suitable |
💡 Why should most people use create-app?
Most companies aim to use Backstage as a ‘tool’ to build a developer portal, not to overhaul Backstage as a ‘product’ itself. Starting with create-app allows for all necessary customizations (UI changes, plugin additions, API integrations, etc.) perfectly. 🛠️
🛠️ A Short Guide to Starting with create-app
Now that we know this method is the winner, let’s get a taste of how to start!
- Run the command: In your terminal, type the following:
- Bash
npx @backstage/create-app@latest- Set the name: Choose an app name (e.g., my-portal).
- Select a database: Choose SQLite (for testing) or PostgreSQL (for production).
- Run: Navigate to the created folder and type `yarn dev` – that’s it! 🎊
🏁 Conclusion: “Use the tool, don’t fight the tool!”
Forking Backstage is like wanting to drive a car but copying all the blueprints and assembly lines of a car factory. If your goal is simply to drive (operate a developer portal), it’s wiser to take the key—@backstage/create-app—and just start the engine. 🏎️
Direct your energy towards developing plugins that improve developer experience (DevEx), not resolving code conflicts!
Leave a Reply