Hello everyone! Today, we’re going to dive into a detailed guide on how to install TechDocs, one of Backstage’s core features and often called the ‘flower’ of Developer Experience (DevEx). 🚀
After setting up a new Backstage monorepo, have you ever felt lost trying to add TechDocs for “Documentation as Code” management, wondering which commands to use and in what order? We’re unveiling the ‘definitive guide’ for perfectly installing frontend and backend packages in a Yarn workspace environment! 💡
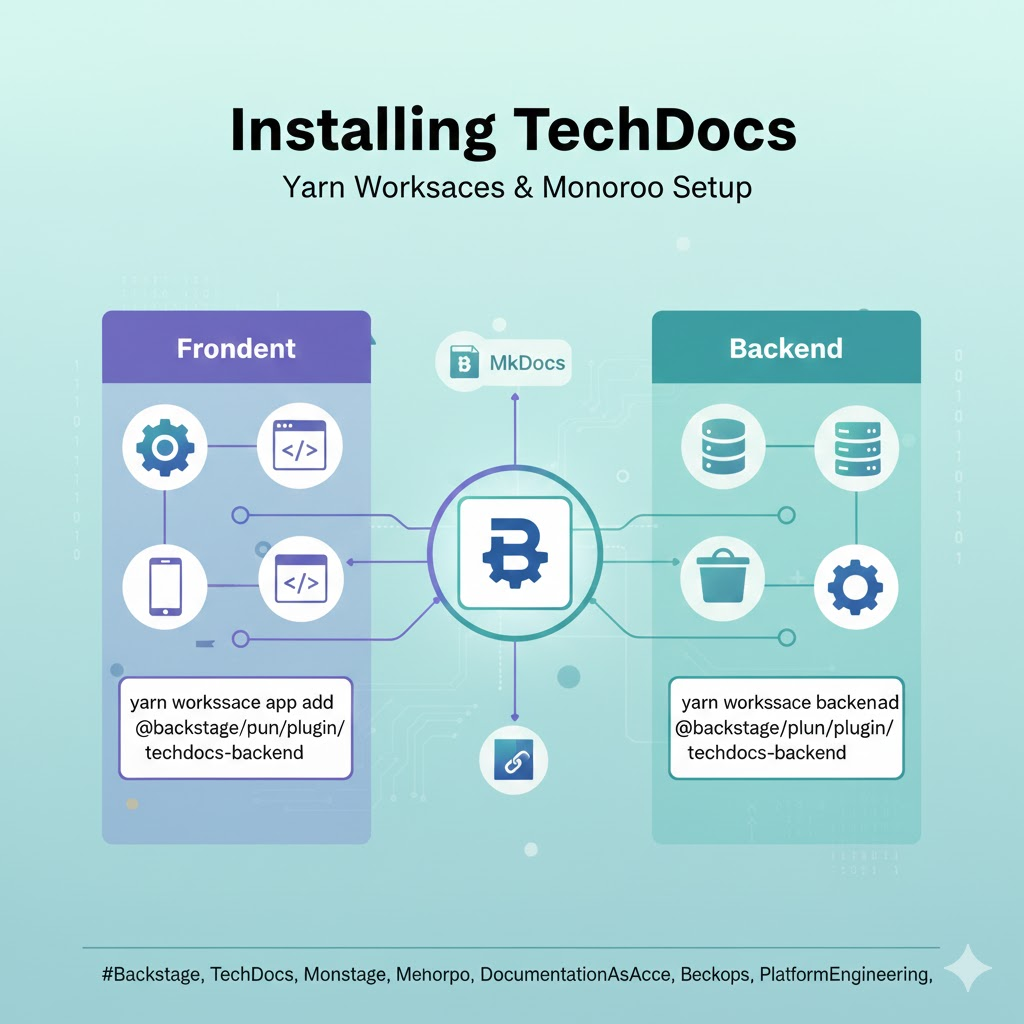
🏗️ Why Install TechDocs Using Yarn Workspaces?
Backstage fundamentally adopts a Monorepo structure. Since the frontend (packages/app) and backend (packages/backend) are separated, when adding new features, you need to install the appropriate libraries for each package’s domain separately.
By using Yarn Workspaces, you can easily manage installations without having to navigate to each sub-package from the root directory. 🛠️
🌟 The ‘Golden Command’ Sequence for TechDocs Installation
To enable TechDocs, you need to install both the frontend plugin and the backend plugin.
Step 1: Install Frontend Package (app) 🎨
First, install the package to configure the UI screen where users can read documents.
Bash
yarn workspace app add @backstage/plugin-techdocs- Meaning: Adds the TechDocs frontend library to the ‘app’ workspace (packages/app).
Step 2: Install Backend Package (backend) ⚙️
Next, install the backend package responsible for processing, generating, and serving document data.
Bash
yarn workspace backend add @backstage/plugin-techdocs-backend- Meaning: Adds the TechDocs backend processing logic to the ‘backend’ workspace (packages/backend).
🔍 What to Do After Installation? (Additional Setup Guide)
Just because you’ve installed the packages doesn’t mean the documents will magically appear! Some code integration work is required. 🕵️♂️
🛠️ Frontend Connection (packages/app/src/App.tsx)
You need to register the installed @backstage/plugin-techdocs in your app’s routing.
TypeScript
// Example inside App.tsx
import { TechdocsPage } from '@backstage/plugin-techdocs';

// ... routes definition section
<Route path="/docs" element={<TechdocsPage />} />
🛠️ Backend Connection (packages/backend/src/plugins/techdocs.ts)
In recent Backstage versions, the New Backend System is often used. In this case, simply adding the following single line to the index.ts file is sufficient.
TypeScript
// packages/backend/src/index.ts
backend.add(import('@backstage/plugin-techdocs-backend/alpha'));
💡 Practical Tip: Understanding How TechDocs Works
Internally, TechDocs uses a static site generator called MkDocs. 📖
- Preparation: Scrapes Markdown files from the source code repository.
- Generation: Runs MkDocs to convert them into HTML.
- Storage: Stores the converted HTML in S3, GCS, or a local file system.
- Visualization: The Backstage UI (frontend) fetches this stored content and displays it to the user.
Don’t forget that for this process to run smoothly, Python and the mkdocs-techdocs-core package must be installed in your local environment! 🐍
🏁 Conclusion: A Clean Installation is the Start of Good Maintenance!
When adding TechDocs in a Backstage monorepo, remember the following commands:
- yarn workspace app add @backstage/plugin-techdocs 🎨
- yarn workspace backend add @backstage/plugin-techdocs-backend ⚙️
By following these two steps, your team will be one step closer to a true DevOps culture, managing both code and documentation in one place! 🚀
Leave a Reply