The topic we’ll cover today is “Working Environment Setup (Context & Namespace)”, which can be considered both the beginning and the end of the CKAD (Certified Kubernetes Application Developer) exam. It’s the first environment you’ll encounter in the exam room, and in real-world scenarios, it’s an essential skill for engineers managing multi-cluster environments.
To avoid the terrifying experience of accidentally deleting resources in the wrong cluster by working in an incorrect Context, you must master today’s content perfectly. 🚀
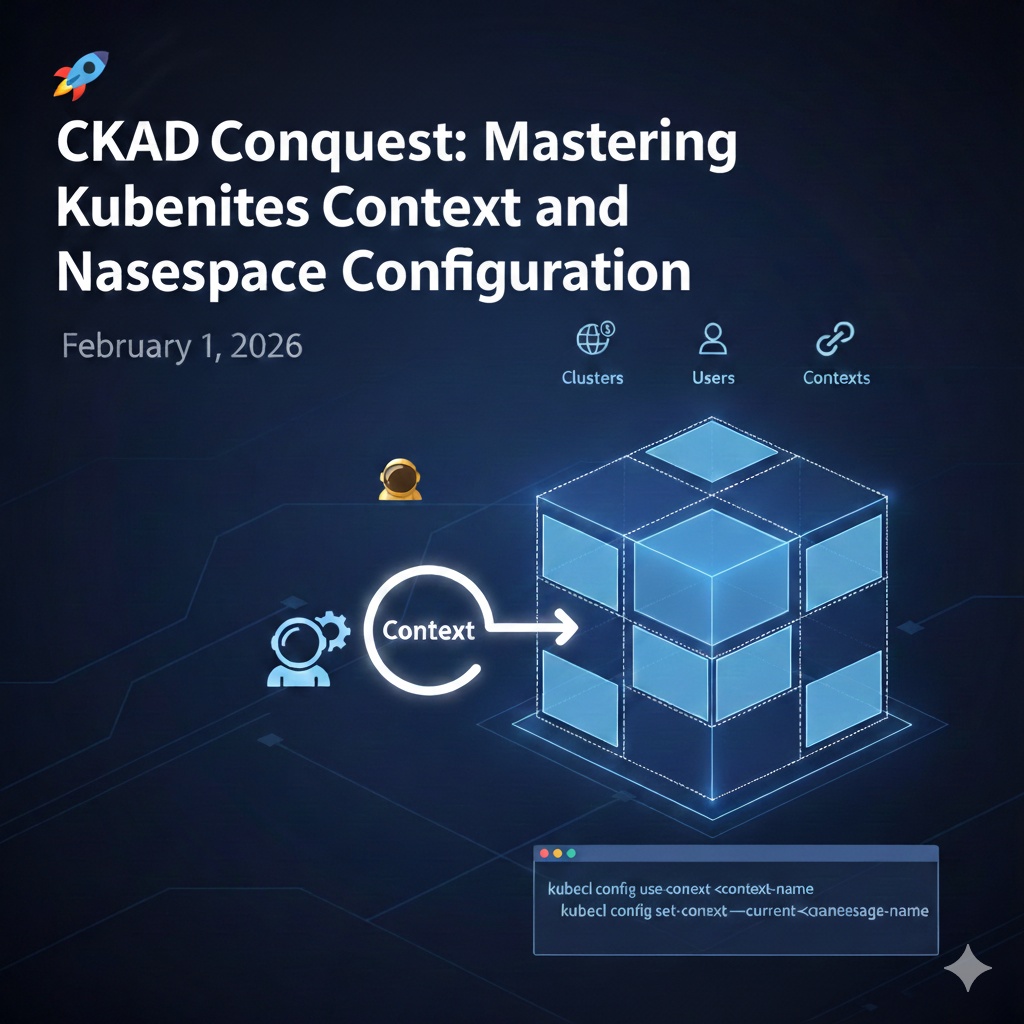
🏗️ The Core of Kubernetes Working Environment: Context and Namespace
When managing Kubernetes clusters, we typically use the ~/.kube/config file. This file contains information about various clusters and user details, and efficiently switching between them is key.
1. Understanding Kubeconfig Structure 📂
A Kubeconfig file is primarily composed of a combination of three elements:
- Clusters: The address (API Server) and authentication information of the cluster to connect to.
- Users: The user account or token to connect to the cluster.
- Contexts: A link that defines “which user (User) will use which cluster (Cluster) with which namespace (Namespace) as default.”
2. Managing Contexts: “Where am I right now?” 📍
In the CKAD exam, each problem will instruct you to “work in a specific Context.” If you make a mistake switching Contexts, you won’t get any points, no matter how correct your answer is.
- Check the current Context in use
`
kubectl config current-context
`
- Check the list of all Contexts
`
kubectl config get-contexts
`
- Switching Contexts (Most Important!)
`
Switch to a specific context
kubectl config use-context
`
3. Namespace: Logical Divisions within a Cluster 🏢
A Namespace is a unit that divides a single physical cluster into multiple logical virtual clusters. More than 90% of exam questions require you to create resources within a specific Namespace.
- View resources in a specific Namespace
`
kubectl get pods -n
`
- Set a default Namespace (Time-saving tip!) Typing -n namespace every time is cumbersome and prone to errors. You can change the default Namespace for the current Context entirely.Using this command, subsequent `kubectl get pods` will show resources in that Namespace.
`
kubectl config set-context –current –namespace=
`
4. Recommended Practical Tools: kubectx and kubens 🛠️
In real-world scenarios, commands can be too long, so open-source tools like kubectx and kubens are widely used. (These might not be available in the exam environment, so make sure to master the basic commands too!)
# Switch context (kubectx)
kubectx my-cluster-name

# Switch namespace (kubens)
kubens dev-team
5. CKAD Exam Room Essential Checklist ✅
Make the following steps a habit as soon as you access the exam environment:
- Check Context: Copy and execute the `kubectl config use-context …` command written at the top of the problem.
- Check Namespace: If a Namespace to work in is specified, always append `-n
` to the command or fix it entirely with `set-context`. - Verify: After creating resources, always confirm that they were created in the intended location using `kubectl get all -n
`.
💡 Concluding Remarks
Context and Namespace management is more than just a simple setup; it’s the core of safe operations. Especially for ‘Kubernauts’ like us, aiming to conquer multiple certifications, it’s a fundamental skill that our fingers should react to automatically. ⌨️
I hope that the setup methods learned today will make your terminal an even more precise cockpit.
Leave a Reply