Hello! In this post, we’ll explore the most fundamental yet crucial settings for your journey to pass the CKAD (Certified Kubernetes Application Developer) exam: Context and Namespace. 🚀
This article focuses on mastering the technique of quickly switching your working environment without panicking during the exam. You can master it by focusing for about 15 minutes!
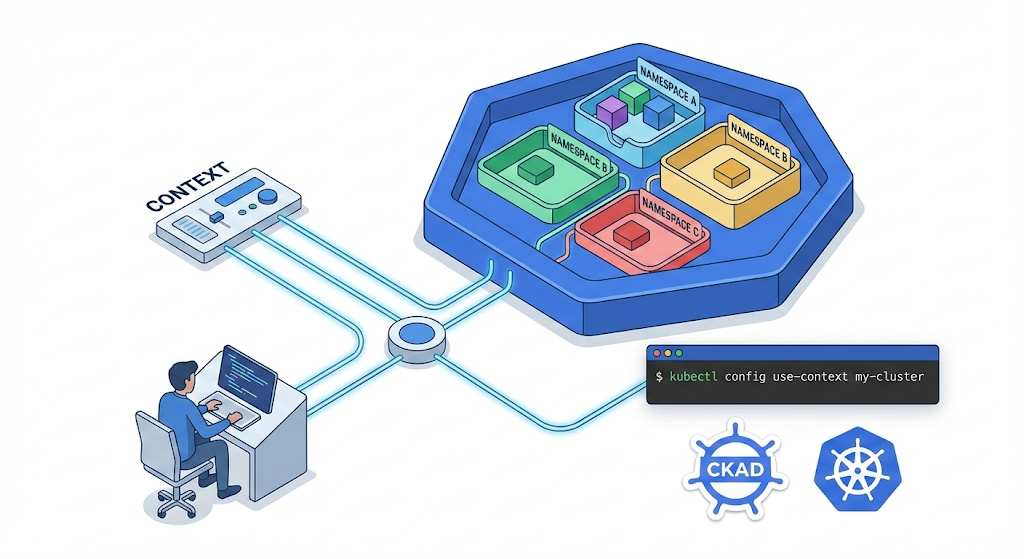
1. Context: Who will you work as, and where? 🧭
In Kubernetes, a Context is simply a set that bundles ‘working account’ + ‘cluster’ + ‘namespace’ together.
In the CKAD exam, you need to solve problems by switching between multiple clusters. At the beginning of each problem, you’ll be given a command like kubectl config use-context
💡 Key Commands
- Check current context:
`
kubectl config current-context
`
- View all available contexts:
`
kubectl config get-contexts
`
- Switch context:
`
kubectl config use-context my-cluster-name
`
2. Namespace: Which room will you work in? 🏠
A Namespace is a unit that logically separates resources within a single cluster. Almost all problems in the CKAD exam require you to create resources within a specific namespace.
⚠️ Caution: If you do not specify a namespace, resources will be created in the default namespace. Be careful, as creating resources in a namespace other than the one required by the problem will result in a 0 score!
💡 Key Commands
- Query resources in a specific namespace:
`
kubectl get pods -n my-namespace
`
- Specify namespace when creating resources:
`
kubectl run nginx-pod –image=nginx -n my-namespace
`
- Set a default namespace (Pro Tip!): If you find it tedious to append -n
every time, you can change the default namespace for the current context entirely.
`
kubectl config set-context –current –namespace=my-namespace
`
3. CKAD Practical Tips: The Art of Time Saving ⏱️
The exam is a race against time! Here are some tips to quickly set up your environment.
1) Alias Setting
Typing kubectl every time is too long. Shorten it to k.
alias k=kubectl
complete -F __start_kubectl k # Autocompletion also supported for k
2) Generate YAML files with dry-run
It’s much more accurate to generate and modify YAML files than to create resources directly with commands.
k run my-pod --image=nginx --dry-run=client -o yaml > pod.yaml3) Vim Configuration (Essential!)
Indentation is crucial for YAML files. Add the following to ~/.vimrc as soon as the exam starts.
echo "set ts=2 sw=2 et" >> ~/.vimrc4. Hands-on: Practical Exercise 🛠️
Try following the scenario below directly in your terminal.
Scenario: Create a namespace called dev-team, configure the current context to default to this namespace, and then create an Nginx pod.
# 1. Create namespace
k create namespace dev-team

# 2. Change default namespace for current context
k config set-context --current --namespace=dev-team

# 3. Verify changes (output current context info)
k config get-contexts $(k config current-context)

# 4. Create pod (will be created in dev-team even without specifying namespace)
k run web-server --image=nginx

# 5. Verify result
k get pods
Wrapping Up 🏁
Context and Namespace are the absolute basics of Kubernetes management. Especially in the CKAD exam, you should always ask yourself, “Which cluster and which namespace am I currently in?”
Practice the kubectl config commands you learned today until they become second nature. I sincerely wish you success in your exam! 🌟
Leave a Reply