Hello, Kubernetes users! 👋 Today, we’re going to explore two key features that make Helm even more powerful and flexible. These are the ability to skip CRD (Custom Resource Definitions) installation and the ability to only check the resulting Kubernetes manifests (YAML) without actually installing the chart.
Have you ever wondered why these features are needed and when and how to use them? If you’re building a CI/CD pipeline or want to safely manage complex charts, pay close attention to today’s content! 🚀
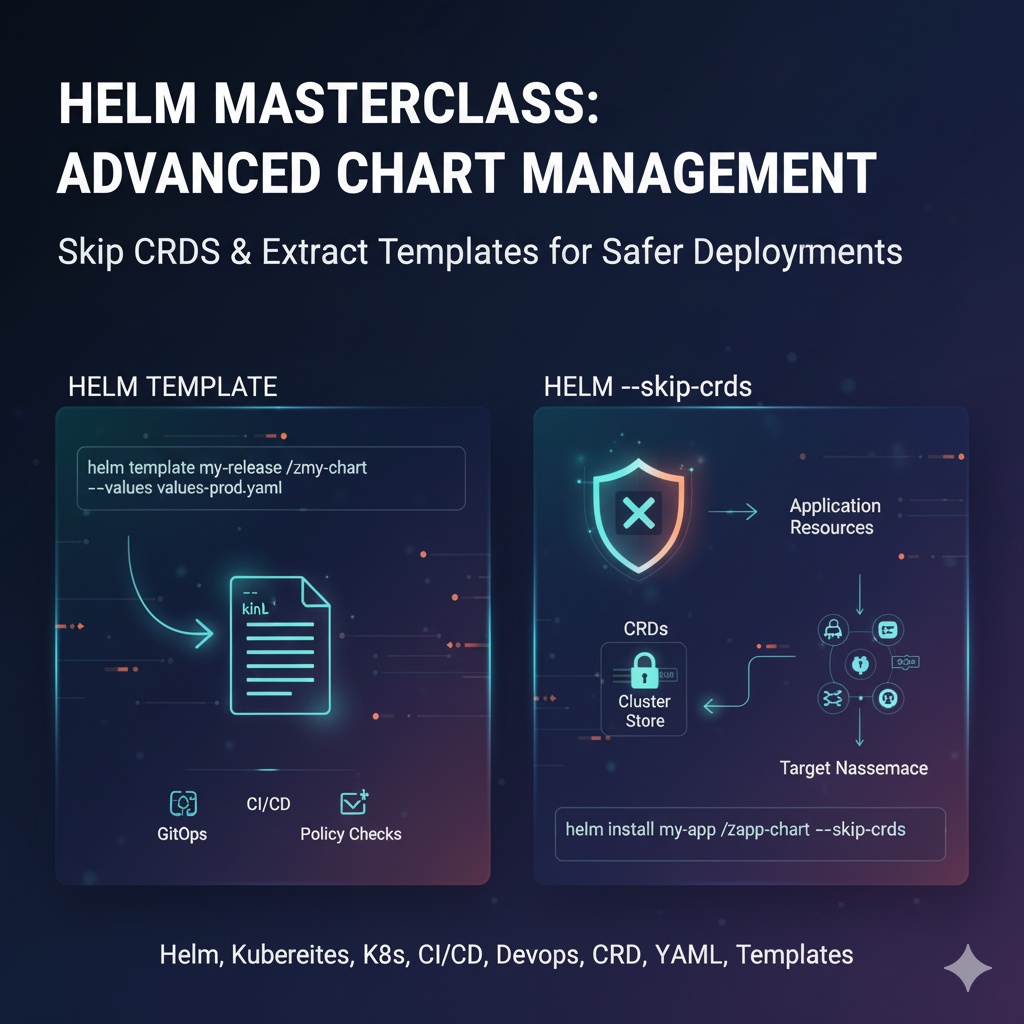
🤔 CRDs, why would you want to skip their installation?
Helm charts often include CRDs required by the application in the crds/ directory. When you run helm install, Helm installs these CRDs into the cluster before other templates. While this is a convenient feature, it can cause problems in several situations.
- Permission Issues 🛡️: Installing cluster-wide CRDs requires high-level permissions (Cluster-Admin). However, you might want to perform general application deployments with limited namespace permissions, separating roles and responsibilities.
- Centralized CRD Management 🏛️: Multiple teams or applications often share and use the same CRDs (e.g., Prometheus Operator, Istio). In such cases, if each team attempts to install/upgrade CRDs every time they install a Helm chart, conflicts can occur, or one team’s upgrade might affect others. It’s much safer for cluster administrators to install and manage CRDs centrally just once.
- Preventing CRD Upgrades 🛑: Since Helm 3, CRDs in the crds/ directory are never upgraded during helm upgrade. This is a safety mechanism to prevent accidental changes or deletions of CRDs, but it can also make CRD management more challenging. Therefore, some choose a strategy to manage CRDs separately from Helm charts from the outset.
To solve these problems, Helm provides a very simple solution.
✅ Using the –skip-crds flag
As the name suggests, this is a magic flag that allows you to skip CRD installation. Simply add the –skip-crds flag to your helm install or helm upgrade command.
Usage Example:
# Install the prometheus-community/kube-prometheus-stack chart, but
# assume CRDs are already installed in the cluster and skip them.

$ helm install my-prometheus prometheus-community/kube-prometheus-stack --skip-crds --namespace monitoring --create-namespace
This tells Helm to completely ignore the crds/ directory and only install the remaining templates (Deployment, Service, ConfigMap, etc.) into the cluster. Now, CRD management is left to the cluster administrator, and application developers can safely focus solely on their application deployments!
🧐 “What YAML will be generated?” Previewing the rendering result
A Helm chart is a ‘template’ that combines values.yaml files with logic (functions, conditional statements, etc.) to ultimately create Kubernetes YAML files. However, there are many times when you want to directly see what YAML files Helm will generate before actually installing anything on the cluster.
This is where the helm template command comes in very handy.
- GitOps Workflow 🤖: GitOps tools like ArgoCD or Flux store the final rendered YAML files in a source code repository (Git) and synchronize them with the cluster. helm template is the core tool for generating precisely this ‘rendered YAML’.
- CI/CD Pipeline 💡: Before applying changes to the cluster, you can run helm template in the CI stage to automatically verify (lint, validate) that the generated YAML files are syntactically correct and have changed as intended.
- Policy Check 👮: You can use tools like OPA (Open Policy Agent) to apply organizational policies, such as “all Pods must have a specific label” or “LoadBalancer type Services cannot be created,” to the rendered YAML files to check for compliance.
- Simple Debugging and Learning 🧑🎓: This is the fastest and safest way to see how your modified values.yaml file is applied to the template, or what resources this chart actually creates.
✅ Using helm template
The helm template command can be used very similarly to helm install, but instead of communicating with the cluster, it outputs the result to the terminal screen (stdout).
# Output the templated result of a local chart named 'my-chart'.

$ helm template ./my-chart
Practical Usage Example (with various flags):
Most flags used in helm install can be used identically with helm template, allowing you to simulate actual installation scenarios almost perfectly.
# Specify the release name as 'my-release',
# assume it's being installed in the 'production' namespace,
# render the template using a separate values-prod.yaml file, and
# save the result to my-manifests.yaml file.

$ helm template my-release ./my-chart
  --namespace production
  --values ./values-prod.yaml
> my-manifests.yaml- my-release: Specifies the release name. Affects template variables like {{ .Release.Name }}.
- –namespace production: Specifies the namespace. Affects the {{ .Release.Namespace }} variable.
- –values ./values-prod.yaml: Specifies an additional configuration file to override the default values.yaml.
- >: Uses standard output redirection to save the result to a file.
✨ In Summary
Today, we learned about Helm’s powerful auxiliary features: –skip-crds and helm template.
- –skip-crds: Installs everything except CRDs when permission separation and stable CRD management are required.
- helm template: Previews the resources to be created without affecting the cluster, useful for various automations like GitOps, CI/CD, and policy checks.
By effectively utilizing these two features, you’ll be able to handle Helm much more safely and professionally. We hope your Kubernetes operations become much more comfortable! 😊
Tags: Helm, Kubernetes, CI/CD, GitOps, DevOps, CRD, YAML, Template
Leave a Reply