Have you been impressed by the beautiful service map drawn after introducing Cilium and Hubble in your Kubernetes environment? 🤩 But then, when you looked closely at the traffic, did you only see information like L3/L4, TCP, and Unknown, and feel frustrated because the detailed L7 (application layer) information you really wanted to see, like HTTP GET /api/users or Kafka Produce message, wasn’t there?
If you thought, “L7 visibility is clearly a core feature of Cilium, so why can’t I see it?”, then this article will perfectly resolve your questions today. In fact, this is neither a bug nor a misconfiguration. It’s a matter related to a very important ‘philosophy’ of Cilium.
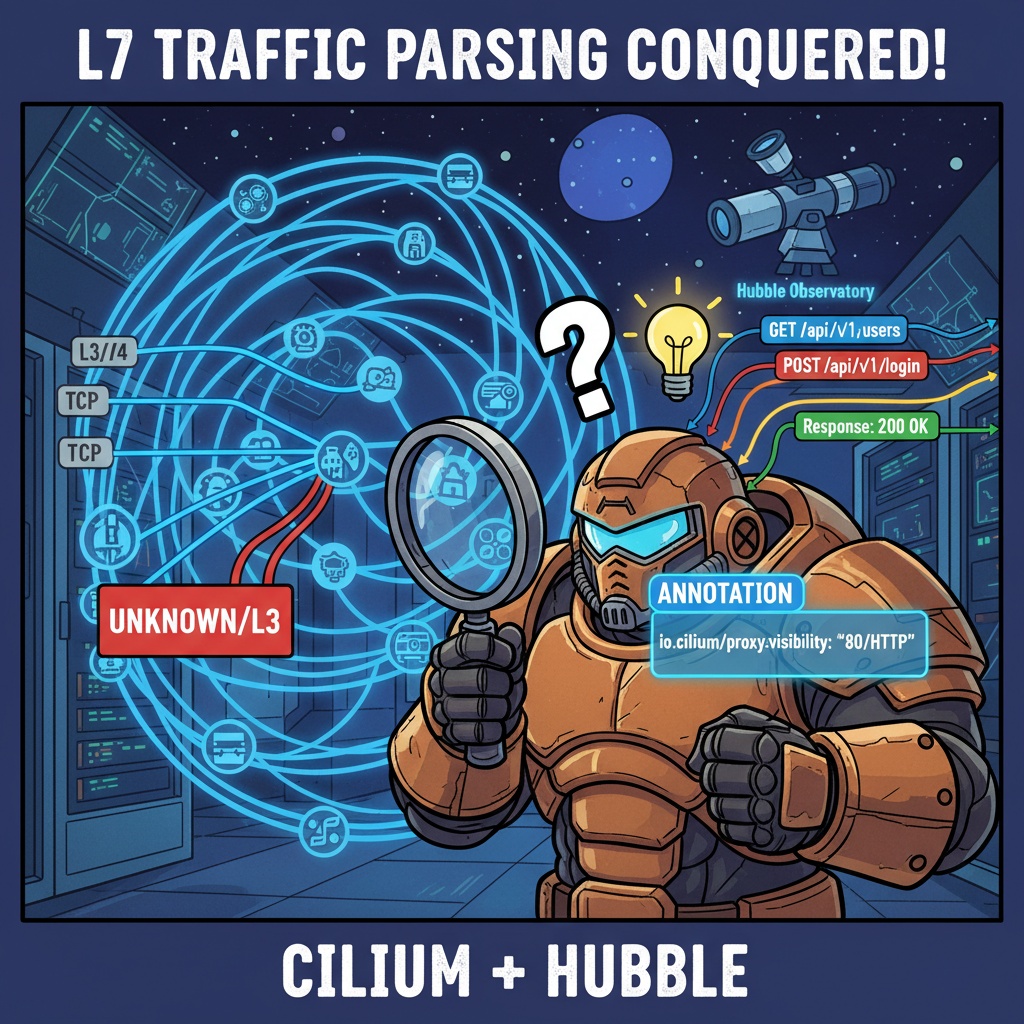
🤔 Why isn’t L7 traffic visible by default? Performance, and focus!
The first thing to know is that Cilium does not perform L7 parsing for all traffic by default.
Think about it. Analyzing every single network packet flowing within a cluster to determine if it’s HTTP, Kafka, or gRPC consumes significant CPU and memory resources. 🤯 If this operation were applied to all traffic, it could greatly impact network performance.
Cilium’s advantage is its highly efficient operation at the kernel level via eBPF, but indiscriminate L7 parsing could negate this advantage.
Therefore, Cilium has adopted an ‘Opt-in’ approach: “For performance, the default is L3/L4, and L7 analysis is only performed for what the user explicitly requests!” That is, only when we tell Cilium, “Please look closely at the traffic coming into this service because it’s HTTP!” does Cilium finally deploy an L7 proxy (Envoy) to begin detailed traffic analysis.
This is the overall context. We now just need to learn how to tell Cilium “which traffic to analyze.”
✨ The Magic Line: Activating L7 Visibility with an Annotation
The simplest and clearest way to instruct Cilium to analyze traffic for a specific service is to add a specific annotation to the Kubernetes Service.
Annotations are a feature that provides additional metadata to Kubernetes objects, allowing various tools or controllers to read these values and perform specific actions. Cilium also utilizes these annotations.
Let’s look at a real example of how to apply it.
Here is a typical service pointing to a pod named my-app.
# 💻 Raw Data: Service YAML before application
apiVersion: v1
kind: Service
metadata:
  name: my-app-service
spec:
  type: ClusterIP
  selector:
    app: my-app
  ports:
  - name: http
    port: 80
    targetPort: 8080
    protocol: TCP
In its current state, traffic coming into my-app-service:80 will simply appear as TCP traffic in Hubble. Now, let’s add a magic annotation line.
# 💻 Raw Data: Service YAML after applying Annotation for L7 parsing
apiVersion: v1
kind: Service
metadata:
  name: my-app-service
  annotations:
    # ✨ This is the key part! It instructs to parse HTTP traffic coming into port 80.
    io.cilium/proxy-visibility: "<80/HTTP>"
spec:
  type: ClusterIP
  selector:
    app: my-app
  ports:
  - name: http
    port: 80
    targetPort: 8080
    protocol: TCP
We added io.cilium/proxy-visibility: “<80/HTTP>” to the metadata.annotations field. The meaning of this annotation is as follows:
- io.cilium/proxy-visibility: This is the Key, meaning we are setting Cilium proxy visibility.
- <80/HTTP>: This Value instructs Cilium to interpret and parse traffic coming into port 80 of this service as HTTP protocol.
The moment you apply this YAML to your cluster with kubectl apply, Cilium will detect traffic destined for this service and dynamically deploy an L7 proxy (Envoy) to begin detailed analysis of HTTP requests.
Now, check the Hubble UI again. Instead of Unknown or TCP, you’ll see beautiful L7 information like this:
- GET /api/v1/users
- POST /api/v1/login
- Response: 200 OK
- Response: 404 Not Found
It’s really simple, isn’t it? Using annotations like this is a powerful way to easily and explicitly enable visibility for specific workloads.
💡 Tip: What if you want to parse multiple ports or other protocols (e.g., Kafka)? You can define multiple rules separated by commas, like io.cilium/proxy-visibility: “<80/HTTP>,<9092/Kafka>“.
❌ Common Misconceptions and Incorrect Approaches
There are common pitfalls when trying to solve this problem. Understanding why other methods are not the correct answer will help you understand Cilium more deeply.
1. “Isn’t just installing Hubble enough?” (
Background: Hubble acts as an ‘observatory’ 🔭 that visualizes data collected by Cilium. Data collection is entirely Cilium’s role. If Cilium doesn’t collect (parse) L7 data, Hubble has no data to display. Therefore, simply installing Hubble does not activate L7 visibility.
2. “Can’t I just add a Label to the Pod?”
Background: Labels and Annotations have different roles in Kubernetes. Labels are primarily used to identify and group objects for ‘selection’ with selectors (e.g., app=my-app). In contrast, Annotations are non-identifying metadata used to instruct tools or systems to perform certain ‘actions’ or provide additional information. Activating L7 parsing is about instructing the Cilium agent to perform a specific action, so using an Annotation is the semantically and functionally correct method. ⚙️
3. “Do I have to apply a Cilium Network Policy (CNP)?”
Background: There are two main ways to enable L7 visibility. The first is the Annotation method explained today, and the second is by applying a CiliumNetworkPolicy that includes L7 rules. When you apply L7 security rules through a policy, such as allowing GET /public paths and blocking others, Cilium naturally begins L7 parsing to enforce that policy. In other words, applying a CNP is ‘one way’ to enable L7 visibility, but not the ‘only way’. If you simply want to observe traffic, the annotation method is much simpler.
Conclusion
Cilium and Hubble’s L7 visibility is more than just a ‘feature’; it’s proof of why eBPF-based networking is powerful. The flexibility to deeply inspect only the traffic of desired workloads when needed, without compromising performance, is an essential capability in cloud-native environments.
Now, instead of frustrating Unknowns in your Hubble service map, directly check the L7 data that reveals the inner workings of your application! With just one line of annotation, your Kubernetes cluster management will become a whole lot smarter. ✨
Leave a Reply