Hello everyone! Today, we’re going to delve deep into Pod Security Admission (PSA), a core component of Kubernetes security configuration.
With v1.25, the existing Pod Security Policy (PSP) was completely removed, and PSA has now taken its place. Breaking the prejudice that “security configuration is difficult,” we’ll provide a detailed overview of everything about PSA, which can be applied very simply using a Kubernetes-native (Built-in) approach. 🚀
1. What is PSA? 🤔
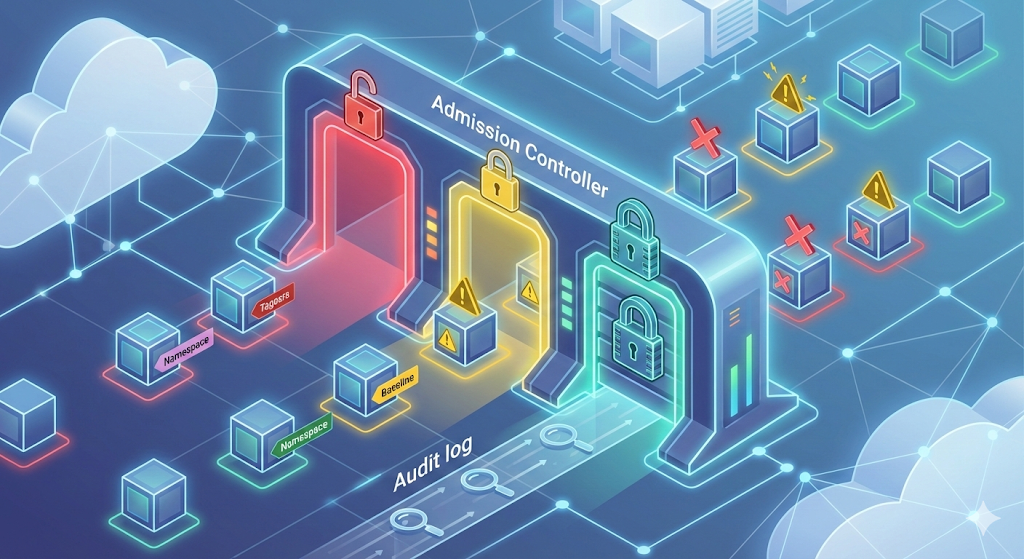
Pod Security Admission (PSA) is an Admission Controller that inspects whether a Pod complies with predefined security standards (Pod Security Standards) when it is created.
In the past, PSP was complex to configure and difficult to manage permissions, but PSA operates immediately simply by attaching a label to the namespace, without the need for a separate CRD (Custom Resource Definition) installation.
2. Key Concept 1: Security Levels 📊
PSA inspects Pods based on three security levels, known as Pod Security Standards (PSS). You should choose the appropriate level for your situation.
| Level | Description | Recommended For |
|---|---|---|
| Privileged | No restrictions at all. Can access host kernel features. | System management agents (CNI, storage drivers, etc.) |
| Baseline | Minimum restrictions to prevent privilege escalation. | General microservices, web applications |
| Restricted | The strongest security level. Includes disallowing Root execution, restricting volume types, etc. | Financial/personal data processing apps where security is critical |
3. Key Concept 2: Control Modes 🎛️
You can decide how to handle policy violations with three modes. You can even apply multiple modes simultaneously to a single namespace!
- Enforce: Rejects Pod creation upon policy violation.
- Audit: Allows Pod creation but logs the violation in the Audit Log.
- Warn: Allows Pod creation but displays a warning message to the user.
4. Practical! PSA Application Guide 🛠️
Now, let’s actually apply the policy to a namespace. The most recommended approach is to “first check with Warn mode, then switch to Enforce mode.”
Step 1. Create a test namespace
kubectl create ns psa-testStep 2. Apply Policy (Labeling)
Let’s apply the most stringent security, the restricted level, to the psa-test namespace. Initially, we’ll only enable warn mode to avoid blocking.
# Syntax: pod-security.kubernetes.io/<MODE>=<LEVEL>

# 1. Set Warn Mode (Warn on Restricted violation)
kubectl label ns psa-test pod-security.kubernetes.io/warn=restricted

# 2. Set Enforce Mode (Block on Baseline violation) -> Dual application possible
kubectl label ns psa-test pod-security.kubernetes.io/enforce=baseline
Step 3. Test Pod Creation with Policy Violation
What happens if we try to create an Nginx Pod with no security settings?
Bash
kubectl run nginx --image=nginx -n psa-testOutput (Warn mode in action):
Warning: would violate PodSecurity “restricted:latest”: allowPrivilegeEscalation != false (container “nginx” must set securityContext.allowPrivilegeEscalation=false), runAsNonRoot != true (pod or container “nginx” must set securityContext.runAsNonRoot=true), …
>
pod/nginx created
Since enforce=baseline passed, the Pod was created, but numerous warning messages appeared due to warn=restricted.
Step 4. Modify Pod to Comply with ‘Restricted’
To pass the Restricted level, securityContext must be carefully configured.
YAML
apiVersion: v1
kind: Pod
metadata:
  name: secure-nginx
  namespace: psa-test
spec:
  securityContext:
    runAsNonRoot: true
    seccompProfile:
      type: RuntimeDefault
  containers:
  - name: nginx
    image: nginx
    securityContext:
      allowPrivilegeEscalation: false
      capabilities:
        drop:
          - ALL
      runAsUser: 1001 # Specify a user other than Root(0)
5. Advanced Configuration: Exemptions 🔓
In certain namespaces, most Pods should be blocked, but specific administrators or controllers might need to be allowed. This is controlled not by namespace labels, but through a Cluster-level configuration file (AdmissionConfiguration).
Note: This setting requires modifying the API server’s configuration file, so direct configuration may be limited in managed Kubernetes services (EKS, GKE, AKS).
YAML
apiVersion: apiserver.config.k8s.io/v1
kind: AdmissionConfiguration
plugins:
- name: PodSecurity
  configuration:
    apiVersion: pod-security.admission.config.k8s.io/v1beta1
    kind: PodSecurityConfiguration
    defaults:
      enforce: "baseline"
      enforce-version: "latest"
    exemptions:
      # Exempt specific user names
      usernames: ["admin", "system:serviceaccount:kube-system:replicaset-controller"]
      # Exempt specific runtime classes
      runtimeClasses: ["kata-containers"]
      # Exempt specific namespaces
      namespaces: ["kube-system"]
6. Conclusion: Roadmap for Safe Adoption 🗺️
When introducing PSA into a production environment, it is recommended to follow the steps below to prevent service interruptions.
- Current Status Assessment: Check the current cluster version (v1.23 or higher recommended) and classify namespace usage.
- Apply Audit/Warn Mode: First apply warn=baseline or warn=restricted without enforce to collect logs.
- Modify Applications: Adjust the securityContext of Pods that generate warnings.
- Switch to Enforce: Once warnings disappear, switch to enforce mode to mandate security.
PSA is no longer an option, but a necessity. You can build strong security governance without complex third-party tools with PSA. Start now! 💪
Leave a Reply