You’re about to take the LFCS (Linux Foundation Certified Sysadmin) exam! To help you quickly review and firmly engrave key information in your mind during the 10 minutes right before the exam, we’ve compiled essential summary notes in a blog format. 🐧🚀
Hello! You’ve worked hard preparing for the exam. Before you enter the exam room, I’ve gathered core commands and configuration files that are easy to get confused. Mastering this list alone will bring you one step closer to a passing score! 💪
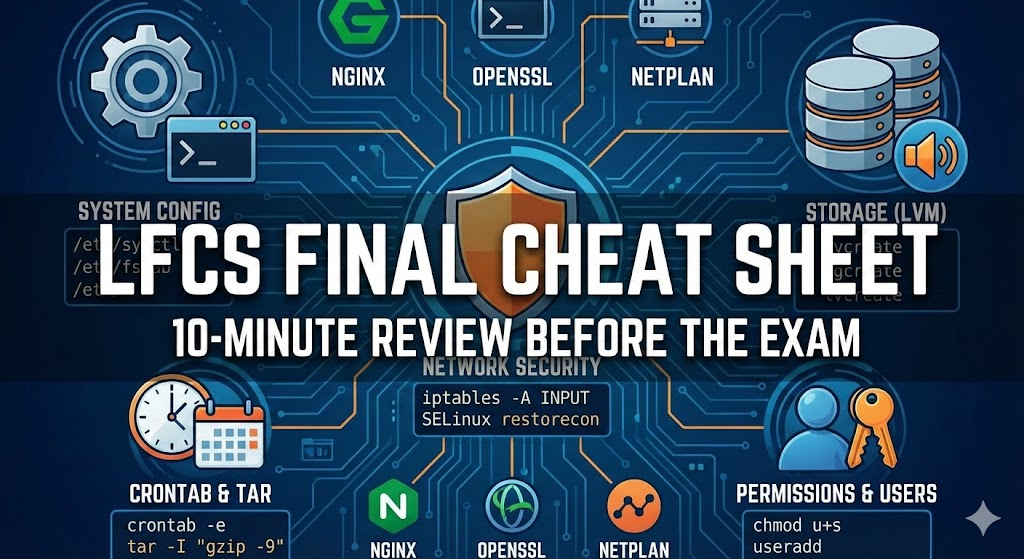
1. Core System Configuration Files & Kernel Parameters ⚙️
The foundation of Linux system administration is knowing the correct location and format of configuration files.
- Resource Limits: Set user-specific process or file open limits in /etc/security/limit.conf.
- Kernel Parameters: Manage kernel settings in /etc/sysctl, apply immediately with sysctl -p, or view the full list with sysctl -a.
- Filesystem Mounts: The format of /etc/fstab is device path, mount point, filesystem type, options, dump, and check order, like /dev/vdd /home/bob/share ext4 defaults 0 2.
- Other Key Files:
- NFS Share: /etc/exports
- Time Synchronization: After configuring /etc/systemd/timesyncd.conf, restart with systemctl restart systemd-timesyncd.
- SSH: /etc/ssh/sshd_config
- NGINX: /etc/nginx/sites-enabled and sites-available
2. Mastering Job Scheduling (Crontab) & Archiving (Tar) 📦
Repetitive tasks and backups are essential skills for a Sysadmin.
⏰ Crontab
- Edit: Use the crontab -e command.
- Specify User: Manage a specific user’s schedule with crontab -u user0 -e.
🗜️ Practical Tar Command Usage
The process of extracting and then re-compressing is a frequently tested pattern.
- List Contents: tar -tjf [file.tar.bz2] | sort > [resultfile]
- Extract: tar -xjf [file.tar.bz2] (use -j option for bz2 format extraction).
- Recreate with Highest Compression: Use the tar -I “gzip -9” -cf [file.tar.gz] command to perform gzip highest level (-9) compression.
3. Network Security (Iptables & SELinux) 🛡️
Security settings to control packet flow and protect system resources.
🔥 Iptables Rules
The basic format is iptables -t [table] -A [chain] -i [interface] -p [protocol] -s [source] –dport [destinationport] -j [target].
- Block Port: iptables -A INPUT -i eth0 -p tcp –dport 5000 -j DROP
- Port Redirect (NAT): iptables -t nat -A PREROUTING -i eth0 -p tcp –dport 6000 -j REDIRECT –to-ports 6001
- IP Masquerading: iptables -t nat -A POSTROUTING -s [network] -j MASQUERADE
🔒 Essential SELinux Commands
- Check Label: ls -Z [filename]
- Restore Label: restorecon -Rv [path] (force application based on policy DB)
- Temporarily Change Label: chcon -t [type] [filename]
4. Storage Management (LVM) 💾
For flexible capacity management, you need to memorize LVM commands step-by-step.
| Category | Step | Key Command | Description |
| — | — | — | — |
| PV | Physical Volume | pvcreate, pvs | Initialize disk for LVM |
| VG | Volume Group | vgcreate, vgs, vgextend | Combine multiple PVs into one pool |
| LV | Logical Volume | lvcreate, lvs, lvextend | Allocate capacity from VG. When extending, -r option is recommended to extend the filesystem as well |
> Note: When deleting, proceed in reverse order of creation: LV → VG → PV.
5. Permissions and User Management 👤
Don’t forget special permissions and user creation options.
🔑 Special Permissions
- SetUID (4000, u+s): When executed, it gains the permissions of the file owner.
- SetGID (2000, g+s): When set on a directory, child files inherit group permissions.
- Sticky Bit (1000, o+t): Only the file owner can delete files within the directory (e.g., /tmp).
👤 User Creation
Use the format useradd [username] -m -d [homedirectory] -s [shell] -g [primarygroup] -G [additionalgroups].
For detailed settings, it can sometimes be more convenient to directly modify /etc/passwd or /etc/group files.
6. Other Services (NGINX, Netplan, OpenSSL) 🌐
- OpenSSL: Use openssl x509 -in [path] -text to view detailed certificate information.
- NGINX Proxy: Define upstream and forward traffic via proxy_pass within the location block.
- Netplan: Modify /etc/netplan/*.yaml files and apply with netplan apply. Ensure correct indentation for address and routes settings.
Final Tip! In the exam room, a single typo can change the outcome, so after entering commands, always verify that settings have been properly applied or restarted.
We sincerely wish you success! Good luck! 🎊
Leave a Reply