Hello! If you’re developing and operating services in an MSA (Microservice Architecture) environment, you’ve probably felt overwhelmed by the huge mountain of ‘security’ at some point. Especially as communication between services becomes complex, you’ve all probably worried, “Is this request really safe? 🤨” or “Can’t we make only authorized services communicate with each other?”
At this point, many people think of Istio, a leading service mesh. Istio provides powerful traffic control, observability, and ‘security’ features. Among them, the Authorization feature, which allows or blocks communication between specific services, is truly attractive.
However, there’s a critical mistake many people make here. It’s…
The question, “How do I ‘enable’ Istio’s authorization feature?”
To put it simply, you don’t need to! 🤯
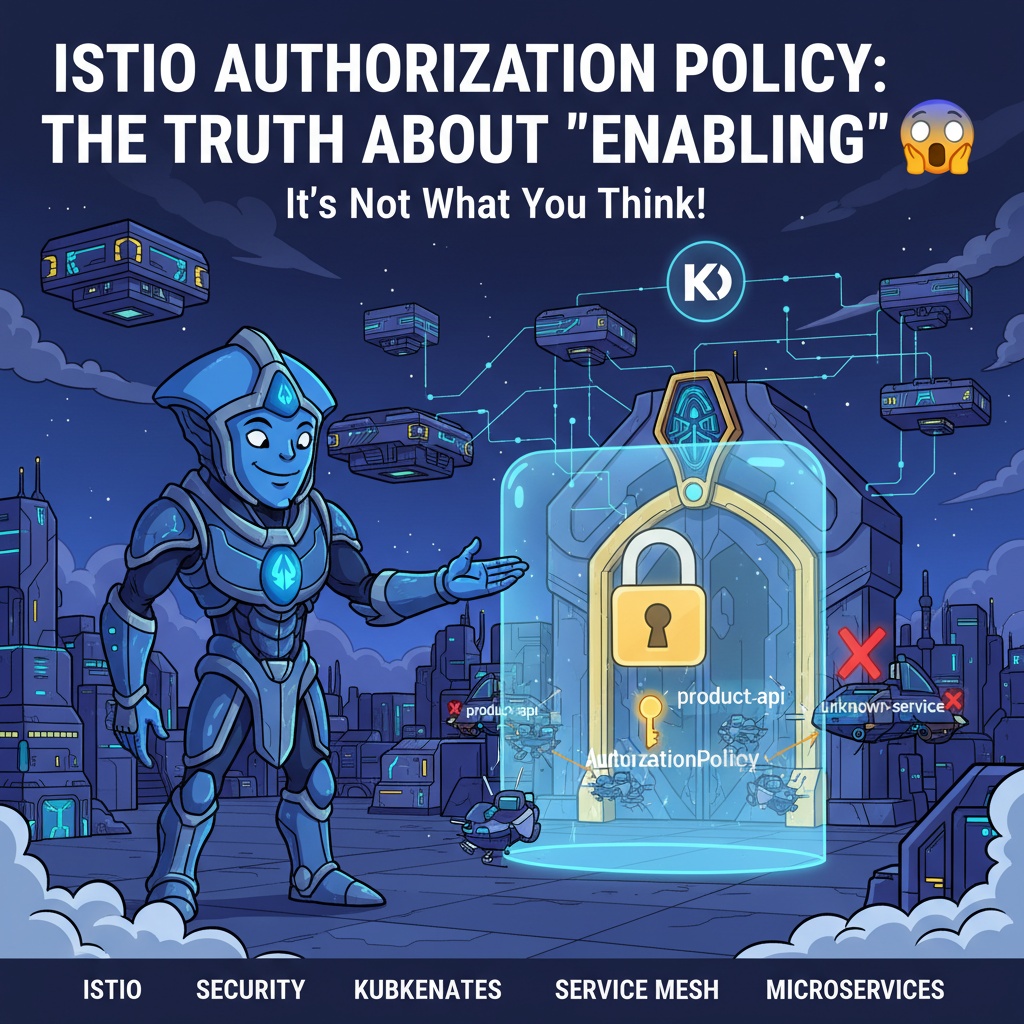
💡 The Truth: Istio Authorization is not a feature you ‘turn on’
Many people, when installing Istio, try to modify IstioOperator resources or search for settings like values.pilot.authorization.enabled=true as an installation option. As if they were installing a new feature.
However, Istio’s authorization feature doesn’t need to be separately enabled; it’s already with us the moment Istio is installed. It’s been there, just quietly waiting because we haven’t called upon it.
To use an analogy, a ‘door lock’ is already installed in our house. We just need to decide whether to give someone a ‘key’ to open the door, or not give them a key to prevent them from entering.
- Istio Authorization Feature: An already installed door lock 🚪
- AuthorizationPolicy Resource: The rule (policy) that determines who gets the key 🔑
In other words, the authorization feature itself is built into Envoy proxy, a core component of Istio, and is always on standby. The moment we create an AuthorizationPolicy resource and apply it to the cluster, this lock mechanism starts operating according to the policy.
🧐 So, how does it actually work? (A look at the overall process)
While knowing individual policies is important, understanding the overall flow makes it much easier.
- Istio Installation and Sidecar Injection 🚀
- Install Istio in your Kubernetes cluster.
- Inject Istio’s Envoy proxy (Sidecar) into the service (Pod) you want to protect. Now all traffic will pass through this proxy.
- Policy Not Applied State (Default: Allow All) ✅
- If no AuthorizationPolicy is created, Istio allows all traffic within the mesh. It has security features, but without rules, it lets all communication pass through.
- AuthorizationPolicy Creation and Application 📝
- We write rules like “Service A is allowed to send only GET requests to Service B” in a YAML file. This is an AuthorizationPolicy.
- Apply this policy to the cluster using the kubectl apply command.
- Role of Istiod (Policy Propagation) 📡
- Istiod, the control plane, detects the creation of this AuthorizationPolicy.
- Istiod interprets this policy and propagates the new rules to the affected Envoy proxies.
- Role of Envoy Proxy (Policy Enforcement) 👮
- Upon receiving the policy, the Envoy proxy inspects all incoming and outgoing traffic from that point on.
- Traffic that matches the rules specified in the policy is allowed (ALLOW), and traffic that does not match is denied (DENY).
Understanding this flow makes it clear that our job is simply to ‘create and apply the desired rules well’.
🛠️ Understanding with a Real Example: Protecting the reviews service
It’s hard to grasp just by talking about it, right? Let’s create a policy to control requests coming into the reviews service using actual code.
Scenario: Only the product-api service is allowed to send GET requests to the /reviews/{id} path of the reviews:v1 service. All other requests are blocked.
1. Define AuthorizationPolicy (allow-product-to-reviews.yaml)
apiVersion: security.istio.io/v1
kind: AuthorizationPolicy
metadata:
  name: allow-product-to-reviews
  namespace: default
spec:
  # Select the workload to which this policy will be applied.
  # Applies to Pods with labels app: reviews, version: v1.
  selector:
    matchLabels:
      app: reviews
      version: v1
  # The default action for this policy is 'ALLOW'.
  # This means requests matching the 'rules' below will be allowed.
  action: ALLOW
  # Defines detailed rules for requests to be allowed.
  rules:
  - from:
    # From which 'source' should requests be allowed?
    - source:
        # Specifies the Service Account of the workload sending the request.
        # This is the safest and recommended method.
        principals: ["cluster.local/ns/default/sa/product-api"]
    to:
    # To which 'destination' should requests be allowed?
    - operation:
        # Specifies the HTTP methods to be allowed.
        methods: ["GET"]
        # Specifies the paths to be allowed.
        paths: ["/reviews/*"]
2. Apply the policy
Execute the command below in the terminal to apply the policy to the cluster.
kubectl apply -f allow-product-to-reviews.yaml3. Check the results
What happens now?
- Allowed requests 👍
- GET requests sent by a Pod running with the product-api service account to /reviews/123 of the reviews:v1 Pod
- Denied requests 👎
- POST requests sent by product-api to reviews:v1 (denied because the method is different)
- GET requests sent by unknown-service to reviews:v1 (denied because the service account is different)
- GET requests sent by product-api to reviews:v2 (the policy’s selector specifies version: v1, so the policy does not apply to v2. If there are no other DENY policies, this request is allowed by default)
⚠️ Important: If even one action: ALLOW policy is applied, workloads matching that selector will implicitly enter a ‘DENY by default’ state. That is, all requests not explicitly listed in an ALLOW rule will be automatically denied. This is the beginning of Istio’s powerful Zero Trust security model.
😫 Common Misconceptions, Why Are They Wrong?
- “You need to enable authorization features with IstioOperator or Helm values.”
- Why not? As explained above, authorization is a core, inseparable function of the Envoy proxy. It’s a built-in feature that doesn’t require separate installation or activation. The control plane (Istiod) merely propagates the policies we create to the proxies.
- “Now that Istio is installed, my services are secure.”
- Why not? Simply installing Istio means you have the ‘capability to apply security,’ not that ‘security has been applied.’ Until an AuthorizationPolicy is applied, all traffic is allowed, so you must explicitly set the desired security level through specific policies.
✨ Conclusion: Changing your mindset makes Istio security easier
Istio authorization policy is not about ‘enabling’ it, but about ‘applying and executing policies.’
Just remembering this simple fact makes approaching Istio security much clearer. No longer do you need to search for non-existent configuration values; define and apply the access rules (AuthorizationPolicy) your services need right now. A small but powerful YAML file can make your MSA environment much safer.
Leave a Reply