Hello! Istio, the powerhouse of Service Mesh that solves complex communication in MSA (Microservice Architecture)! You’ve probably heard of it or used it at least once.
But when installing Istio, have you ever wondered which “Profile” to use? 🤔 If you’ve just been running the istioctl install command, this article will be a great help for stable service operation in the future!
That’s because an Istio installation profile is not just a collection of installation options, but the first step to configuring the optimal environment for your specific use case. A wrong first step can lead to a big disaster(?) later on. 🚨
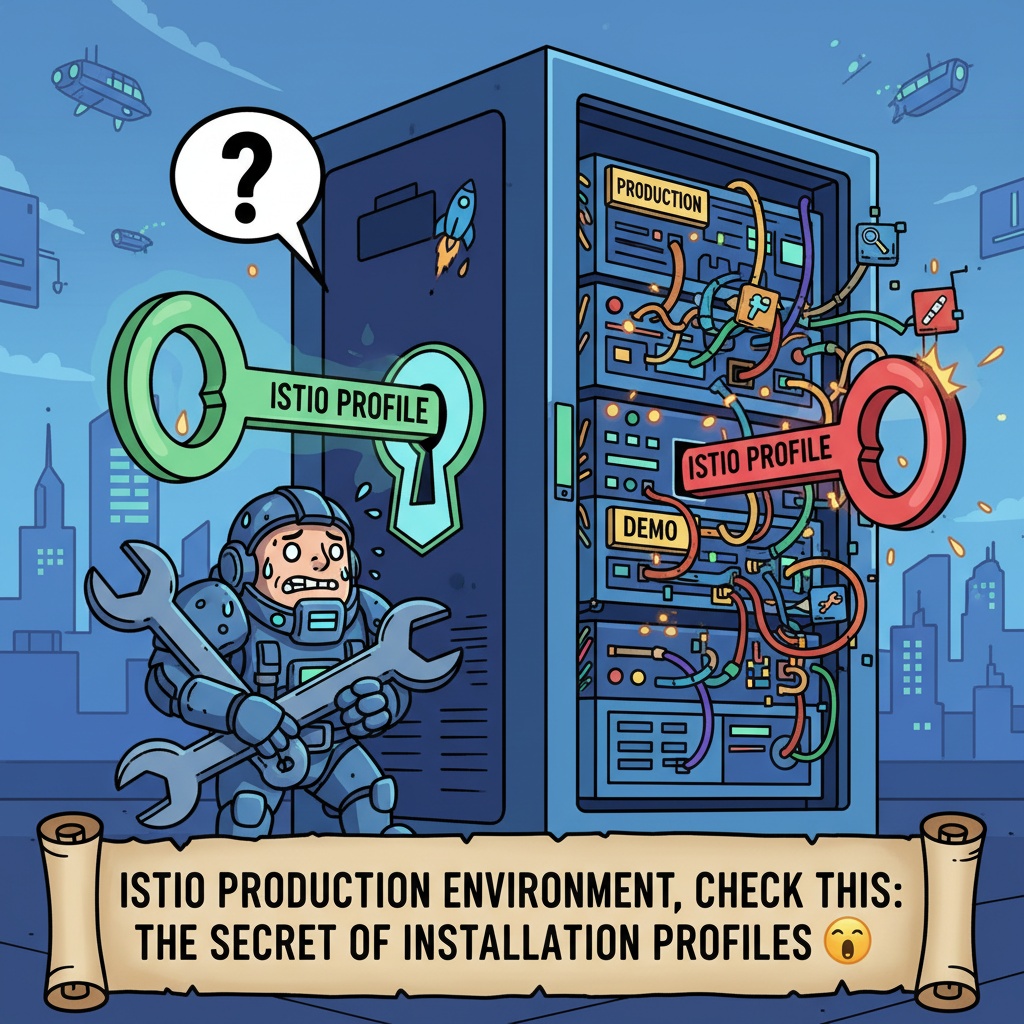
🤔 Why did Istio divide installation profiles?
Istio offers truly powerful and diverse features. However, installing and using all features from the start can be inefficient. It’s like buying a new computer and having all programs installed, even ones you’ll never use. 💻
Therefore, Istio has predefined several profiles based on user scenarios.
- “I want to use it stably for actual services (production)!” 🚀
- “I want to experience and learn all of Istio’s features!” 📚
- “I want to test new features that will be released soon!” 🧪
- “I’m an Istio expert, I’ll configure everything myself!” 🧑🔧
As such, ‘installation profiles’ are a collection of optimal components tailored to these different requirements. Now, let’s take a look at what profiles are available, one by one!
👑 The Answer for Production Environments: default profile
“The best choice for operational environments, focusing on stability and core features”
The default profile, as its name suggests, is the default recommended by Istio for production (operational) environments.
✅ Key components included:
- istiod: The core of the Control Plane, acting as the brain of the service mesh.
- istio-ingressgateway: Acts as a gateway for traffic coming from outside the cluster into internal services.
This profile focuses on stability and performance rather than flashy additional features. It cleanly includes only the essential core elements necessary for actual service operation, making it the most reliable choice.
If you are building an Istio environment for actual services, it is best to choose ‘default’ without considering other profiles.
⚙️ How to install with the default profile
You can easily install it using istioctl in the terminal. This means explicitly specifying the –set profile=default option.
# Install Istio with the 'default' profile
$ istioctl install --set profile=default -y

✔ Istio core installed
✔ Istiod installed
✔ Ingress gateways installed
✔ Installation complete
🎮 Curious about all features? demo profile
“A comprehensive gift set for learning and feature demos! (Absolutely forbidden in production environments!)”
The demo profile is designed for learning and testing Istio’s rich features. In addition to all components of the default profile, it also installs various add-ons such as:
🎁 Additional components:
- Prometheus, Grafana, Kiali, Jaeger etc. Observability tools
- High-level resource requests/limits settings
Using this profile, you can have a great experience visually tracking and analyzing service mesh traffic with a single installation.
However! 🚨 It should absolutely not be used in production environments. The add-ons included for learning consume a surprisingly large amount of resources, which can negatively impact the performance and stability of actual services. In production environments, it is common to manage and install such observability tools separately.
🧪 Want to preview new features? preview profile
“A laboratory to glimpse the future of Istio (Stability cannot be guaranteed!)”
The preview profile includes experimental features that are not yet part of the official release. It’s intended for trying out new features early and providing feedback.
🚧 Caution:
- Features included here may change or disappear without notice.
- Since stability has not been verified, there is a high possibility of failures.
Therefore, this profile should be used with caution, not only in actual services but even in development environments. It is suitable for those who want to contribute to Istio’s development or are curious about new features.
🎨 Want to create your own Istio? empty profile
“A blank canvas, a profile for Istio experts”
The empty profile, as the name suggests, installs almost nothing. Only very basic components are installed, such as managing Istio Custom Resources (CRD) and configuring webhooks.
This profile is for top experts who have a complete understanding of Istio’s internal structure and want to directly control all components required for their service environment from start to finish. General users will rarely need to use this profile. Be careful, as incorrect use can prevent Istio from functioning at all.
💡 The importance of profile selection in the overall context
So far, we’ve looked at the characteristics of each profile. The most important lesson we should take away from this is:
“Choosing an Istio installation profile is not just a switch to turn features on and off, but the first strategic choice that determines the purpose and direction of the service mesh environment you will build.”
- If stable operation is the goal, choose default
- If learning and exploring all features is the goal, choose demo
- If testing new features is the goal, choose preview
- If complete custom control is the goal, choose empty
Thus, selecting the profile that matches your situation and purpose is the first step towards successful Istio adoption. It’s really important to make the right choice from the beginning, so you don’t inadvertently configure a production environment with the demo profile and suffer from resource issues later, right?
I hope this article helps you on your Istio journey! 😊
Leave a Reply