Hello! Have you added a new disk because your Linux server was running out of space, but now you’re at a loss on how to use it after checking with lsblk? 😥 It’s like buying new land but not knowing where to start building a house.
Don’t worry! Today, we’ll go through the entire process, from A to Z, of preparing a new disk for use in a Linux system. By following this guide, you’ll master how to skillfully partition, format, and permanently connect a blank disk to your system.
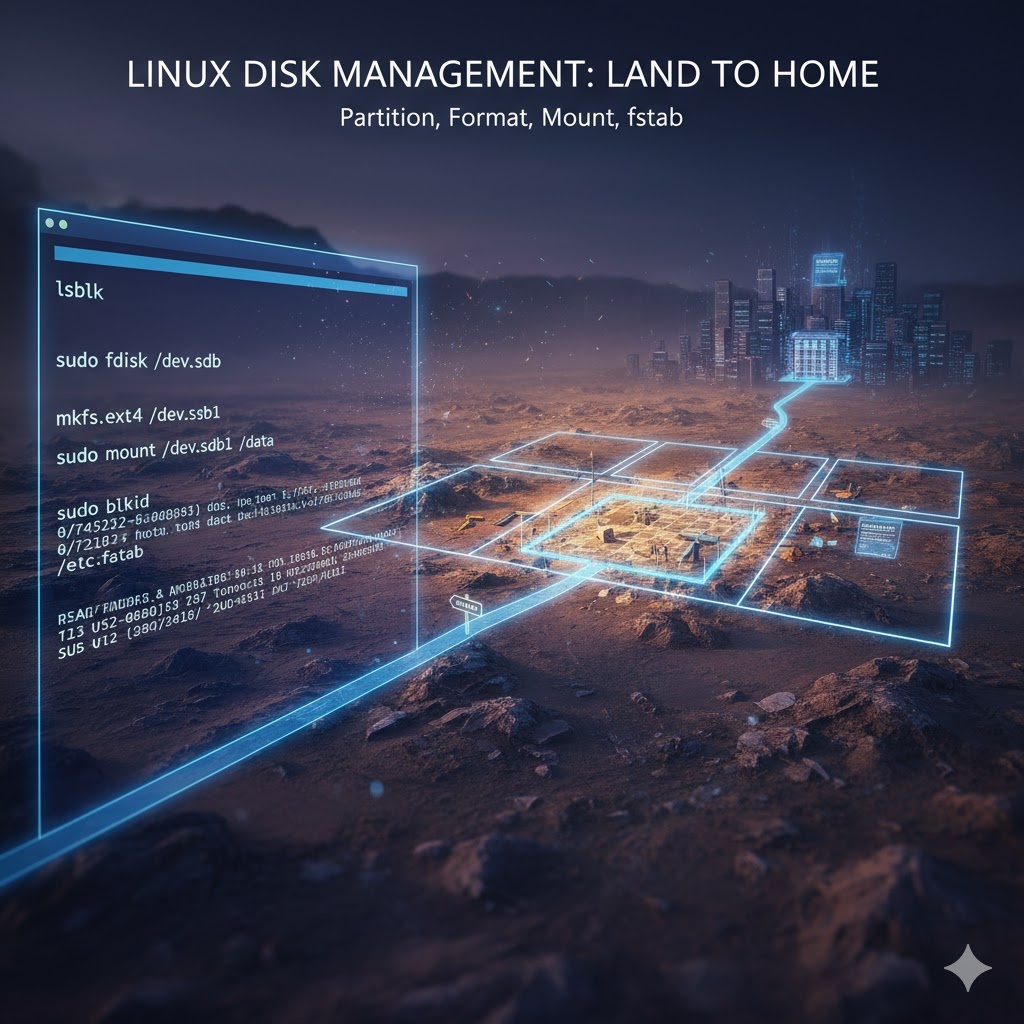
Understanding with an Analogy: Adding a Disk is Like Buying Land and Building a House!
- Step 1: Dividing the Land (Partitioning): You buy a large plot of land (disk) and divide it into sections for building a house, making a field, etc.
- Step 2: Laying the Foundation (Formatting): To build a house, you lay the foundation of the land (create a file system) and establish an address system.
- Step 3: Creating a Path (Mounting): You connect a path (mount point) from the village (Linux system) to your land.
- Step 4: Registering the Address (fstab): To ensure movers or postal workers can always find your land, you permanently register its address with the local office (fstab).
Now, let’s start step-by-step in this order!
Step 1: Dividing the Land – Disk Partitioning 🗺️
The first thing to do is divide the physical disk into logical areas, or ‘partitions’. fdisk is a traditional and powerful tool for this.
💡 Caution: Before starting, accurately check the name of the added disk (e.g., /dev/sdb, /dev/vdb) using the lsblk command. Accidentally modifying the disk where the operating system is installed can cause serious problems!
# Start partitioning using /dev/sdb as an example.
sudo fdisk /dev/sdb
After executing the fdisk command, enter the following in sequence at the prompt:
- n: Creates a new partition.
- p: Selects a primary partition.
- 1: Refers to the first partition.
- Enter: Uses the default starting sector.
- +10G: Specifies the partition size as 10GB. MB units like +500M are also possible.
- w: Writes the changes to the disk and exits.
After partitioning, it’s good practice to run the following command to ensure the system immediately recognizes the changes.
sudo partprobeStep 2: Laying the Foundation – Creating a File System (Formatting) 🏗️
On the divided land (partition), you need to create a structure called a ‘file system’ to store files. This is what we commonly refer to as the ‘formatting’ process.
In Linux, ext4 and xfs file systems are mainly used.
- ext4: The most widely used and stable file system
`
Format the first partition just created (/dev/sdb1) with ext4
sudo mkfs.ext4 /dev/sdb1
`
- xfs: A file system advantageous for large files or when high performance is required
`
If you want to format with xfs, run as follows
sudo mkfs.xfs /dev/sdb1
`
Step 3: Creating a Path – Mounting the File System 🔗
Now, you need to connect the land with its foundation laid to the actual address system, creating a ‘path’ for us to access it. This process is called mounting.
a. Creating the End Point of the Path (Mount Point)
Mounting connects a partition to a specific directory. First, you need to create an empty directory to be connected.
sudo mkdir /datab. Connecting the Path (Manual Mount)
Connect the partition and directory using the mount command.
sudo mount /dev/sdb1 /dataNow, if you run the df -h command, you’ll see that /dev/sdb1 is successfully connected to the /data directory! However, this connection is temporary and will disappear if the server is rebooted.
4. Registering the Address – Auto-Mount with fstab ⚙️
You can’t manually mount every time you reboot, can you? You need to register the address in the /etc/fstab file so that it automatically mounts every time the system boots.
a. Checking the Partition’s Unique Address (UUID)
Disk names (/dev/sdb1) are unstable addresses that can change when other disks are added or removed. Therefore, using the UUID, a unique and permanent identifier assigned to each partition, is much safer.
sudo blkidRunning the above command will show results like /dev/sdb1: UUID=”a1b2c3d4-…”. Copy this UUID value.
b. Registering in the /etc/fstab file
Add a line at the bottom of the /etc/fstab file, following this format:
# [UUID]         [Mount Point] [File System] [Options]     [Dump] [Check]
UUID=a1b2c3d4... /data ext4 defaults 0 0- Options: defaults is the most common and safe set of default options.
- Dump/Check: For general data disks, it is usually set to 0 0.
You can safely add content to the fstab file directly from the terminal using the command below.
# First, store the UUID value in a variable.
MY_UUID=$(sudo blkid -s UUID -o value /dev/sdb1)

# Add to the fstab file using echo and tee.
echo "UUID=$MY_UUID /data ext4 defaults 0 0" | sudo tee -a /etc/fstab
Now all tasks are complete! Even if you reboot the system, the /data directory will always be connected to the new disk. 🎉
Wrapping Up
Adding a disk is no longer a daunting task. Just remember these four steps: ‘Dividing the land (fdisk) → Laying the foundation (mkfs) → Creating a path (mount) → Registering the address (fstab)’. This process is one of the most basic yet important skills in Linux system administration.
Tags: Linux, 리눅스, 서버, 하드디스크, fdisk, mkfs, mount, fstab, UUID, 시스템관리, DevOps
Leave a Reply