When operating a server, there are times when you need to find files that meet specific conditions among tens of thousands of files. Beyond simply searching by name, you need to handle complex requirements such as “who can execute it”, “whether it has dangerous security settings”, or “whether to select and back up only large files”.
At such times, the ‘Swiss Army knife’ for Linux administrators is the find command. Today, we will thoroughly examine three core command patterns that are frequently used in practice but can be dangerous if their exact principles are not understood.
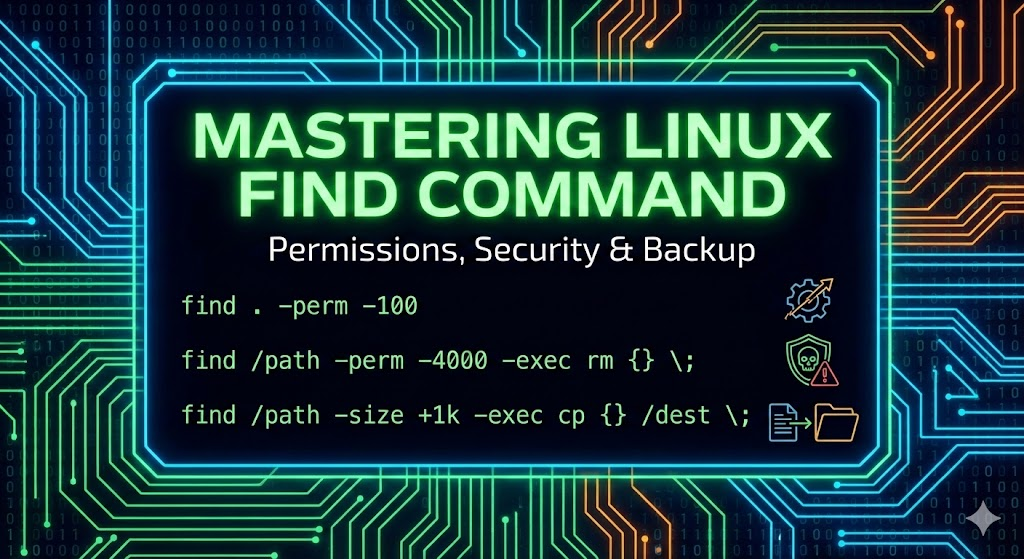
🔍 First Mission: Find Executable Files
find . -perm -100
When managing development or web servers, you often encounter “Permission” issues. In particular, script files may not execute, or conversely, files that should not be executed may have execute permissions, creating a security vulnerability.
The command used for this is the -perm option.
find . -perm -100This short command hides the principle of Bitmask. Shall we break it down one by one?
1. Three Syntaxes of -perm (Knowing this puts you in the top 1%)
Many people get confused by the symbols before the permissions.
- 100 (No symbol): Finds files that exactly match. That is, it only finds files where only the owner has execute permission and no other permissions (read, write, etc.) are present (–x——). This is rarely used in practice.
- -100 (Hyphen, Important!): Finds files that “at least have this permission”. If only execute permission (1) is present, all files are searched, even if additional read (4) or write (2) permissions exist. (AND condition)
- /100 (Slash): Finds files if at least one of the specified bits is set. (OR condition)
2. The Secret of the Number 100 (Octal)
Linux permissions are expressed as 3-digit numbers. (e.g., 755, 644)
Interpreting 100 by digit is as follows:
- First digit (1): This is the User (owner) area.
- 4 (Read) + 2 (Write) + 1 (Execute)
- That is, it means “owner’s execute permission”.
- Second digit (0): This is the Group area. Not checked.
- Third digit (0): This is the Other (other users) area. Not checked.
💡 Summary
Meaning: “From the current directory (.) downwards, ignoring other permissions,
find all files where the file owner has execute (x) permission enabled.”
🛡️ Second Mission: Remove Potential Backdoors (SetUID)
find /opt/findme/ -type f -perm -4000 -exec rm {} ;
This command is a pattern that system engineers or security personnel should pay close attention to during server inspections. Used incorrectly, it can damage the system; used correctly, it can eliminate hacking threats.
1. The Danger of 4000 and SetUID
Permissions have increased to 4 digits (4000). The first digit signifies special permissions.
- 4 (SetUID): When this file is executed, it runs with the permissions (ID) of the file owner, not the person who executed it.
- 2 (SetGID): Runs with group permissions.
- 1 (Sticky Bit): Allows only the owner to delete their own files in a shared directory.
Why is it dangerous? 💀
Suppose a hacker infiltrates, creates a /home/hacker/sh file, changes its owner to root, and then sets SetUID (4000) on it.
Later, when the hacker logs in as a regular user and executes this sh file, they instantly gain a shell with Root privileges. This is a typical backdoor technique.
2. Detailed Command Breakdown
- -type f: Targets only regular files, not directories.
- -perm -4000: Finds files where the SetUID bit is set, regardless of other permissions.
- -exec rm {} ;:
- find calls the rm command every time it locates a file.
- {} is replaced with the path of the found file.
- ; signals the end of the command.
⚠️ Critical Caution
This command deletes (rm) without asking.
However, Linux systems have files like passwd, ping, sudo, etc., that legitimately require SetUID. If this command is accidentally run in a location like /usr/bin/, critical system functions could be paralyzed.
[Safe Practical Tip]
Always visually confirm before deleting!
# Step 1: First, check the list and permissions (ls -l)
find /opt/findme/ -type f -perm -4000 -exec ls -l {} ;

# Step 2: After checking, delete only suspicious files
# (Delete manually or use exec rm only in verified paths)
📦 Third Mission: Back up Files Larger Than a Specific Size
find /opt/findme/ -size +1k -type f -exec cp {} /opt/ ;
This command is useful for managing log files or cleaning up disk space. However, it contains a trap of “data loss” that beginners inevitably encounter.
1. Details of the -size Option
- +1k: Files greater than 1KB.
- What if it’s -1k? Less than 1KB.
- What if it’s just 1k? Exactly 1KB (with rounding applied).
- Units:
- c: Bytes
- k: Kilobytes (KiB)
- M: Megabytes (MiB)
- G: Gigabytes (GiB)
2. The Trap of cp and Flat Copy (Caution: Data Loss!)
This command copies the found files to a single directory, /opt/. This is where the problem arises.
Scenario Example:
- /opt/findme/projectA/config.xml (size 5KB)
- /opt/findme/projectB/config.xml (size 10KB)
find locates both of these files. Then it attempts to copy them to /opt/ in order.
- Copies projectA/config.xml to /opt/config.xml.
- Copies projectB/config.xml to /opt/config.xml. (Overwrite occurs!)
As a result, only the last copied file remains in the /opt/ directory. This is because the original directory structure (projectA, projectB) is ignored.
🚀 Solution: Copy while maintaining directory structure (–parents)
To solve this problem, you need to add the –parents option to the cp command.
find /opt/findme/ -size +1k -type f -exec cp --parents {} /opt/ ;This way, the original path structure (e.g., /opt/opt/findme/projectA/…) is created at the destination, completely preventing overwrite issues.
📝 Conclusion
The find command is like a fishing rod for catching desired fish in the vast ocean of Linux.
- -perm -100: When finding files with owner execute permissions (script check)
- -perm -4000: When finding files with SetUID set (security check – caution with deletion!)
- -size +1k: Size-based search and copy (caution with overwriting!)
If you thoroughly understand these three patterns, you will be able to handle the terminal with much more confidence when writing file management automation scripts or performing security audits.
Try entering the commands explained today directly on a test server to get a feel for them! Small mistakes become experiences that prevent big accidents.
Leave a Reply